How to Remove Permanent Marker from Dry Erase Boards, Corkboards, and Clothes (A 4-Step Emergency Checklist)
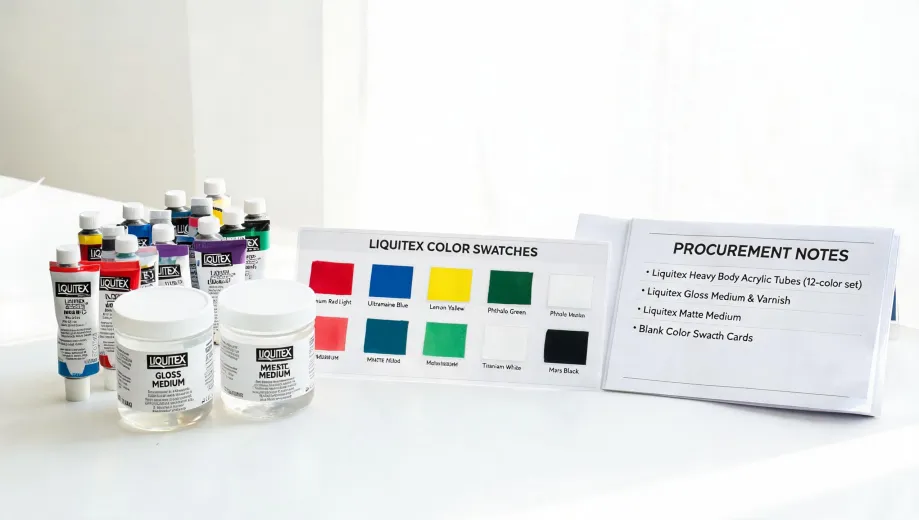
I'm the person who gets called when a marker ends up on the wrong surface. I coordinate daily operations for a university art department, and I've handled 200+ supply emergencies over the past six years—including same-day turnarounds for instructors and deadlines that would have cost us class time. Our supply shelves are full of Liquitex heavy body acrylic paint set 12 and Liquitex ink set, plus the usual permanent markers for labeling palettes and containers. And 'permanent' always manages to find the dry erase board, the corkboard, or someone's good shirt.
In March 2024, I had a call from a teaching assistant at 9:40 a.m. Her lecture started at 10. Someone had left a label from a paint bin on the whiteboard—a thick permanent marker line across the calendar. We fixed it in 90 seconds with a dry-erase marker, then spent the rest of the week dealing with the other two surfaces. This is the checklist I use on those calls.
What You'll Need
You don't need a specialty solvent. For this whole checklist, grab:
- Isopropyl alcohol (70% or 91%)
- Clean cotton balls or pads
- A dry-erase marker
- A clean microfiber or soft cloth
- Dish soap
- Fine-grit sandpaper (220 grit or higher)
Most of these are already in the supply closet. If they aren't, the total cost of the fix is still lower than replacing a whiteboard or paying to clean a favorite shirt.
Step 1: Stop, Don't Rub
Your first instinct is to scrub. Don't.
Look at the surface before you touch it. If it's a dry erase board, rubbing with a rough cloth can scratch the coating. If it's a corkboard or clothing, rubbing pushes the pigment deeper into the material. The first step is simply to diagnose what you're dealing with and pick the right approach.
Step 2: Dry Erase Board—Cover It, Wipe It
For a non-porous board, the quickest fix is the marker-on-marker trick:
- Cover the permanent marker line completely with a standard dry-erase marker.
- Let it sit for about five seconds.
- Wipe it away with a clean, dry cloth.
The solvent in the dry-erase ink dissolves the permanent ink. It's honestly like magic. If any ghost remains, wet a microfiber cloth with isopropyl alcohol and wipe the area again.
Don't use acetone or abrasive scrubbing pads. Once the dry-erase coating is scratched, that section of the board refuses to erase properly. I've seen a cheap nail polish remover strip the coating off a $300 whiteboard in minutes. That's a classic 'saved $3, lost $300' mistake.
Step 3: Corkboard—Blot and Blot Again
Cork is porous. The permanent marker absorbs into the grain, so rubbing just pushes it deeper. If it's a laminated or painted corkboard, treat it like a dry erase board and use the marker-over technique. If it's raw cork, do this:
- Soak a cotton ball with 70% isopropyl alcohol.
- Blot the stain, changing the cotton often.
- Wait for the area to dry.
- If a dark ghost remains, sand lightly with fine-grit sandpaper.
Blotting takes patience. I remember standing in a hallway 10 minutes before a student art show, blotting a black star off a corkboard. I kept second-guessing whether to sand it, because sanding can leave a small light patch. But the alternative was a black star in the middle of the installation. The sanded spot looked better.
Step 4: Clothes—Work from the Back
If the marker hit fabric, act fast and don't rub the front. Lay the garment over a clean paper towel so the stained area sits on top of it. Then blot the back of the fabric with 91% isopropyl alcohol. The ink pulls out into the paper towel instead of deeper into the fibers.
So, how to remove permanent marker from clothes without ruining the fabric? It starts with not rubbing the stain. From there:
- Rinse the spot with cold water.
- Massage a drop of dish soap into the area.
- Let it sit for five minutes.
- Wash normally.
- Air dry before you decide if it's gone.
Test the alcohol on an inside seam first. I've never had it ruin color on cotton or synthetics, but 'never' is a strong word. If the dye lifts, stop and use a different method.
Three Mistakes That Make It Worse
Here are the common mistakes I see people make when a permanent marker lands on the wrong surface:
- Scrubbing the stain. Scouring creates micro-scratches that hold ink forever, especially on coated whiteboards and cork.
- Using heat too early. Hot water or a dryer before the stain is gone can set the pigment permanently.
- Skipping the spot test. Even the best solvent is the wrong one for one specific fabric or coated board.
Final Checks and the Cost Mindset
Now look at the surface again. If the stain is gone, great. If not, repeat the appropriate blot or wash before moving on. Some stains need a couple of rounds; that's normal.
One thing I tell students all the time: don't reach for the cheapest unproven cleaner just because it's on sale. Vinegar, toothpaste, and baking soda have their place, but not every 'hack' works on every surface. While you're experimenting, the marker is soaking in further. Total cost matters more than the sticker price. A $2 bottle of isopropyl alcohol is a no-brainer compared to a stained shirt or a damaged board.
Also, read labels. FTC advertising guidelines require claims to be truthful and not misleading, but that doesn't mean a product is safe on every surface. A 30-second spot test saves you from a much bigger mess.
So yes, you can get permanent marker off a dry erase board, a corkboard, and clothes—if you catch it soon and follow the steps in the right order. If you only remember one thing, let it be this: stop, blot, and use alcohol before you scrub.

Elena Baptista
Elena Baptista is an office printing and imaging analyst covering laser and inkjet printers, multifunction devices, copiers, label and receipt printers, ink cartridges, toner cartridges, and drum units. She applies ISO/IEC 24734, ISO/IEC 24711, and ISO/IEC 19798 methods while comparing print speed, first-page time, duplex throughput, duty cycle, page yield, coverage assumptions, resolution, color consistency, energy use, and maintenance intervals. Her guides help offices, schools, dealers, and procurement teams match output volume, media handling, connectivity, consumable economics, service access, and fleet-management requirements.